Alchemix Holyheld Topup – Complete User Guide
This guide explains how to top up your Holyheld card with Alchemix, step by step. Each step is illustrated with a screenshot for clarity.
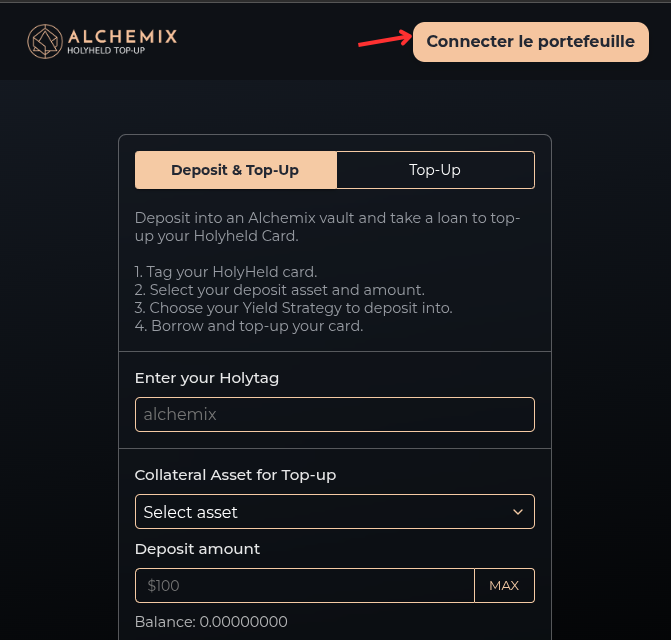
1. Connect Your Wallet

- Connect your wallet using MetaMask or WalletConnect.
2. Enter Your HolyTag & Select Deposit & Top-Up
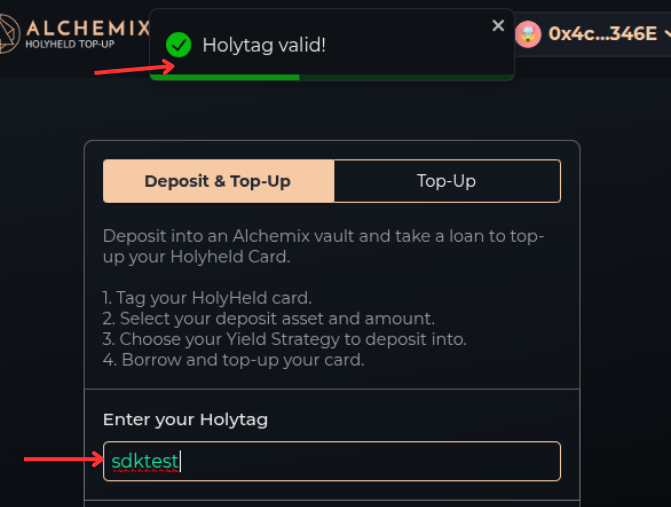
- Enter your HolyTag to link your Holyheld card. Make sure your HolyTag is validated (you should see a confirmation message).
- If you do not have an Alchemix position, select the Deposit & Top-Up tab.
3. Select Collateral Asset
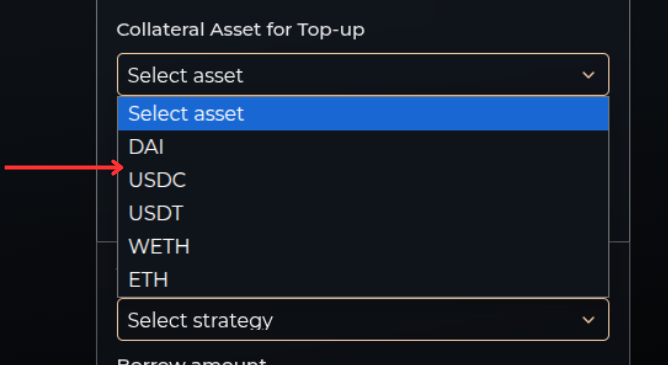
- Select the asset you wish to deposit (e.g., DAI, USDC, ETH, etc.).
4. Enter Deposit Amount
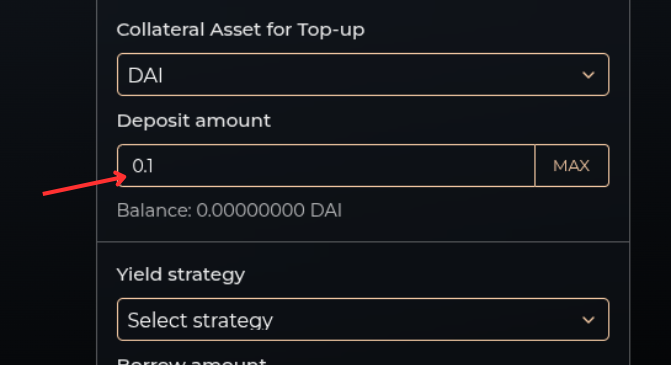
- Enter the desired amount to deposit.
5. Choose Yield Strategy and Borrow Amount
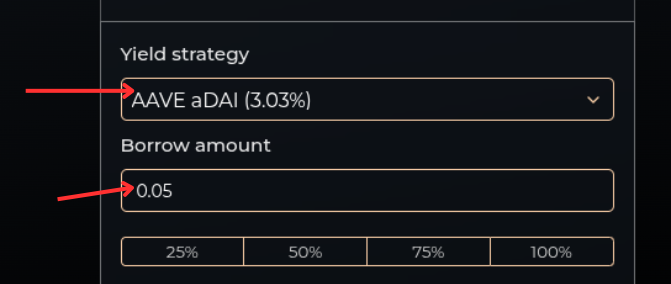
- Select a yield strategy from the dropdown (e.g., Yearn or Alchemix v2).
- Enter the amount you want to borrow.
6. Confirm Transaction
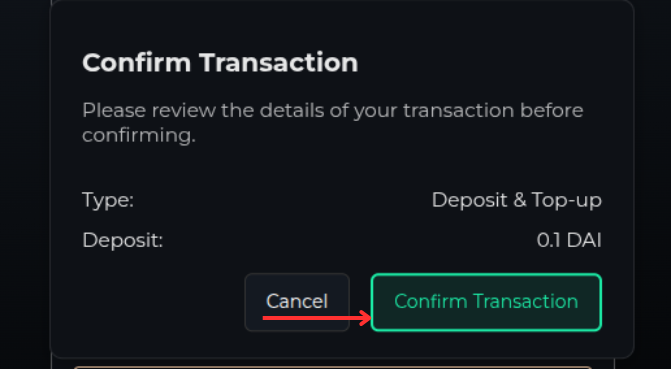
- Review the transaction summary.
- Click on Confirm Transaction to initiate the process.
Note: The first use might require you to approve the asset.
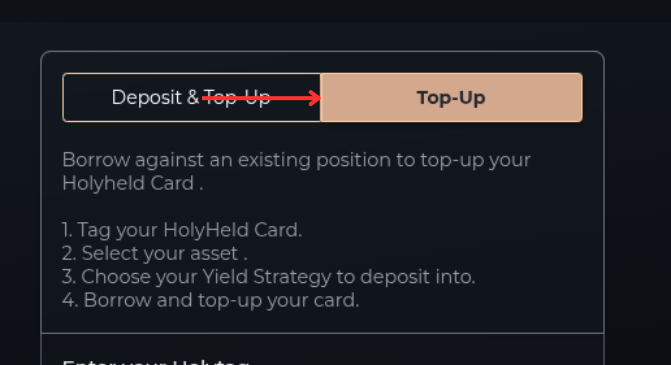
Top-Up Only
If you already have an Alchemix position and only want to top up your Holyheld card (without depositing new collateral), follow these steps:
1. Go to the Top-Up Tab
- Navigate to the Top-Up tab in the interface.
2. Enter Borrow Amount
- Enter the amount you want to borrow for your top-up.
3. Enter Your HolyTag
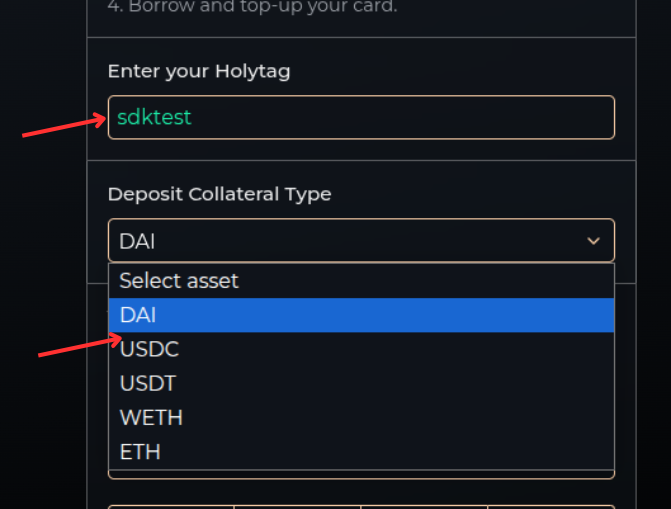
- Enter your HolyTag to link your Holyheld card.
4. Review and Confirm

- Review the transaction summary.
- Click on Top-up to proceed.
Note: This mode allows you to borrow against your existing position and top up your card directly.
Tips and Precautions
- Wallet Security: Always ensure that you use a secure wallet.
- Risk Management: Be aware of possible fluctuations in your collateral's value and the risks associated with borrowing.
- Updates: Regularly check our documentation for the latest updates and improvements.